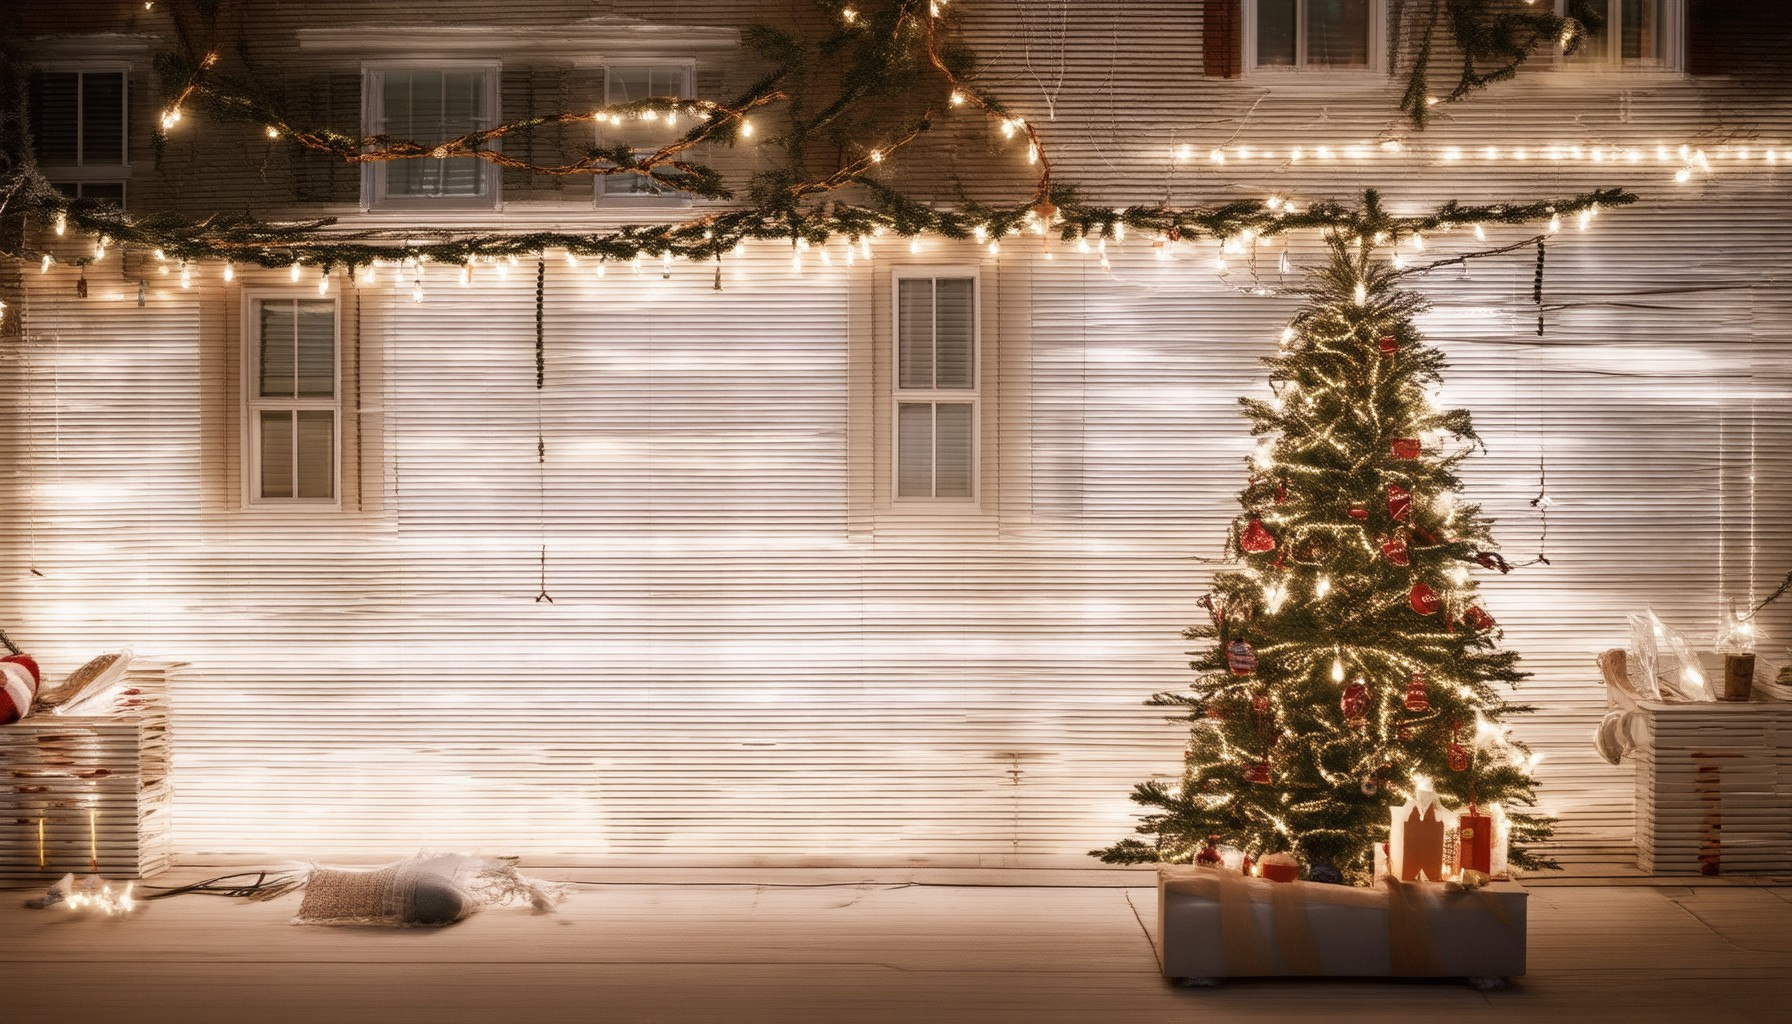
Transform your home or porch into a dazzling display of festive cheer with our collection of easy-to-follow Christmas lights DIY projects. Whether you’re a seasoned DIY enthusiast or new to crafting, these guides offer step-by-step instructions for creating stunning holiday decorations that will wow your guests. From budget-friendly options to innovative ideas, we’ve got everything you need to illuminate your space with unique and personalized Christmas lights. Discover how to hang, power, and customize your lights seamlessly, ensuring your home shines bright this season. Explore a range of creative projects, including LED upgrades, spherical designs, and cup ball lights, that cater to every skill level. Get ready to dive into the world of Christmas lights DIY and bring unmatched charm and joy to your holidays!
Key Takeaways
– DIY Christmas Light Projects: Discover easy-to-follow guides for creating festive decorations like light spheres, lava lamps, and cup ball lights.
– Versatile Crafting Options: Whether you’re a beginner or a seasoned crafter, find projects suited to every skill level.
– LED Lighting Enhancements: Safely illuminate your creations with small LED lights for vibrant, energy-efficient glow.
– Crafting Essentials: Gather materials like PVC foam, glass containers, and decorative elements to bring your visions to life.
– Festive Ambiance: Transform your space with customizable, handcrafted decorations that add warmth and cheer to your holidays.
– Safety First: Use flame-resistant materials and secure components to ensure your DIY projects are safe for display.
What is the Cheapest Way to Hang Christmas Lights?
Hanging Christmas lights can be done in various ways, but finding the most economical method requires considering factors like materials, tools, and ease of installation. Here’s a step-by-step guide to help you achieve this:
- Use Plastic Hooks and Clips:** These are often the most affordable option. They are lightweight, easy to install, and can be found at most hardware stores or online platforms like Target or Amazon .
- String Lights:** For a budget-friendly approach, consider string lights that come with built-in hooks or clips. These are usually sold at Walmart or local department stores.
- Rope Lights:** Another cost-effective option is rope lighting, which can be secured using nails or screws. These are available at Home Depot and other home improvement stores.
- Tools Needed:** To ensure your lights are securely hung, invest in a sturdy step ladder and some basic tools like screwdrivers or pliers. These can be purchased at Lowe’s .
- Safety First:** Always inspect your surfaces before hanging lights and use weather-resistant brackets or clips to prevent damage. For outdoor displays, consider Menards for durable outdoor lighting solutions.
By combining these methods, you can create a festive display without breaking the bank. Remember to check local retailers like Best Buy for seasonal sales on holiday lighting products.
How to Run Power Outside for Christmas Lights DIY
To safely power your outdoor Christmas lights, follow these essential steps:
- Check Circuit Breaker Capacity – Ensure your circuit breaker can handle the total wattage of your lights and decorations. Consider using a dedicated outdoor circuit if available.
- Use Heavy-Duty Extension Cords – Opt for cords rated for outdoor use and high ampereage (e.g., 15-20 amps) to handle the load without overheating.
- Install Ground Fault Circuit Breakers – Use GFCI outlets or circuit breakers to protect against electrical shocks and reduce fire risks.
- Weatherproof Outlets – Install weatherproof receptacles outside to safely connect your extension cords, protecting them from rain, snow, and humidity.
- Secure Cords Properly – Tuck extension cords into the ground or bury them temporarily, but always secure them with stakes or attach them to fences to prevent accidental tripping or damage.
- Connect Lights Safely – Use end caps or connectors to join cords securely. Wrap exposed wires carefully and avoid leaving loose ends hanging.
- Distribute Load Evenly – Connect multiple strings of lights to a single circuit to avoid overloading and ensure consistent brightness.
- Test Before Decorating – Turn on the lights and check for any flickering, tripping, or malfunctioning connections before hanging decorations.
By following these guidelines, you can safely and efficiently power your outdoor Christmas lights, ensuring a bright and festive display without hazards.
How to Hang Christmas Lights
Here’s the easiest way to hang Christmas lights:
- Prepare Your Tree : Start by ensuring your tree is secure. If you’re using a real tree, water it well before hanging lights to prevent drying out.
- Measure Height and Spacing : Use a tape measure to determine your tree’s height and the distance between branches. This helps in evenly spacing the lights.
- Determine Light Placement : Begin at the bottom of the tree and work your way up, placing lights every 1-2 feet depending on branch thickness.
- Plug in Lights : Attach the power source to the trunk or a sturdy branch. Use a ladder for safety and ensure bulbs are secure.
- Secure Wires : Wrap excess wires around the tree trunk or bundle them neatly to avoid tangling.
For a seamless look, consider using timers or smart plugs to control your lights remotely. Whether you prefer traditional warm white or vibrant multicolored, these steps ensure your Christmas display shines brightly!
Pro Tips : – Opt for LED strings for energy efficiency and long-lasting brightness. – Add reflective surfaces like mirrors or foil-wrapped ornaments to enhance the glow. – Tuck small ornaments or candles into light sockets for a cozy touch.
Don’t forget to check local regulations for fire safety when using electrical decorations. Happy decorating!
Shop Christmas Lights at Target Buy Christmas Lights on Amazon Christmas Lighting Ideas at Home Depot
How to Make a Christmas Light Sphere
To create a festive Christmas light sphere, follow these organized steps:
- Materials Needed: – PVC foam sheets or blanks – Spherical frame (available at craft stores) – Decorative patterns or templates (stars, circles, snowflakes) – Hot glue gun and sticks – Scissors or cutting knife – Utility knife – Acrylic paint or spray paint – Glitter or sequins (optional) – Small LED lights (safe for heat resistance)
- Tools Required: – Cutting knife or scissors – Ruler or straightedge – Paintbrushes – Fine-tipped markers
- Step 1: Prepare the Foam Shapes. – Cut out decorative shapes from the PVC foam using your chosen templates. – Ensure symmetry and alignment for a polished look.
- Step 2: Assemble the Sphere. – Attach the cut-out shapes to the spherical frame, starting from the center and working outward. – Secure each piece with hot glue, ensuring smooth transitions between shapes.
- Step 3: Add Lighting Features. – Insert small LED lights into the sphere, positioning them towards the top for visibility and heat safety. – Secure the lights in place with glue to prevent movement.
- Step 4: Paint and Decorate. – Paint the sphere using acrylic or spray paint, choosing vibrant colors for a festive appearance. – Allow the paint to dry completely before applying glitter or sequins for added sparkle.
- Step 5: Final Touches and Safety Check. – Review the sphere for any gaps or loose parts, securing them with additional glue if necessary. – Ensure all materials are flame-resistant to prevent hazards during use.
How to Make a Christmas Lava Lamp
To create a festive Christmas lava lamp, follow these simple steps:
- Materials Needed:
- A transparent container (e.g., glass vase or bowl)
- Cooking oil or vegetable oil
- Food coloring gel (optional, for vibrant colors)
- A small flashlight or light source
- A wick or candle
- Rocks or sand for the base (optional, for stability)
- Christmas-themed decor (optional, e.g., stars, Santa hats)
- Step 1: Prepare the Container.
- Clean the container thoroughly and dry it.
- Add a layer of rocks or sand to the bottom for stability and to prevent spills.
- Step 2: Add Oil and Color.
- Pour oil into the container, leaving enough space for the wick (about 1-2 inches from the top).
- If desired, add a few drops of food coloring gel to create vibrant colors. Stir gently to mix.
- Step 3: Insert the Wick.
- Place the wick in the center of the oil surface. Ensure it’s secure but not touching the sides of the container.
- Step 4: Set Up the Light Source.
- Position the container near a window or under a bright light source. Shine the light behind the container to create the glowing effect.
- For added ambiance, consider placing Christmas-themed decor around the container or using colored cellophane behind it.
- Step 5: Test and Enjoy!
- Turn off the light source and observe the beautiful glowing effect created by the oil layers refracting the light.
- Adjust the position of the light or the container to enhance the visual appeal.
How to Make Cup Ball Lights
To create colorful and decorative cup ball lights, follow these simple steps:
- Materials Needed: – Disposable or sturdy plastic cups – Small LED lights (preferably battery-powered) – Adhesive tape or glue – Decorative elements like beads, glitter, or ribbons – A small battery pack or power source [View Supplies]
- Prepare the Cups: – Clean and dry the cups thoroughly. – Line the inside of each cup with a smooth, non-abrasive material like felt or fabric to prevent the light from moving.
- Insert the LED Light: – Gently place the LED light inside the prepared cup, ensuring it is positioned centrally. – Secure the light in place using adhesive tape or a small rubber band to prevent movement during inflation.
- Inflate the Cup: – Use a hand pump or your mouth to carefully inflate the cup until there is enough space for the light to move freely, but not so much that it becomes loose. – Leave a small gap at the top for the light to float slightly, enhancing the decorative effect.
- Secure the Light Further: – Tie a small knot inside the cup near the opening to keep the light centered and secure. – This prevents the light from shifting as the cup is inflated further.
- Add Decorations: – Inside the cup, sprinkle decorative elements like small beads, glitter, or sequins for added visual appeal. – Attach ribbons or strings to the exterior of the cup for hanging or placement.
- Power Source: – Connect the LED light to a small, hidden battery pack using wires or a connector. – Secure the battery pack inside the cup or attach it to the base for easy access. – Ensure the battery is safely enclosed to prevent leaks or exposure.
- Test and Display: – Carefully test each cup ball light to ensure the light stays on and the cup maintains its shape without causing the light to move excessively. – Adjust the inflation level if necessary for better visual effect. – Display the cup ball lights in a creative manner, such as hanging them from ceilings or walls for a festive atmosphere.
Conclusion: By following these steps, you can easily create vibrant and eye-catching cup ball lights perfect for parties, weddings, or festive events. Ensure safety by choosing the right materials and securely placing the battery, and enjoy the glowing effects they bring!



0 Comments